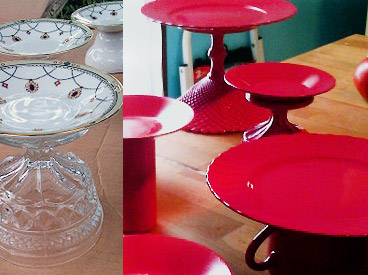
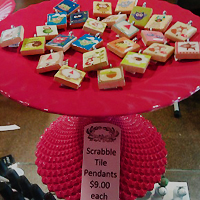
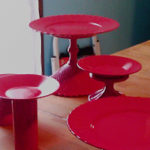
I sell much of my jewelry at stores all around the country, and some stores require a display be provided with the product. I wanted a sort of funky, yet vintage look. So I decided to create my displays from old cups and saucers. The total cost of the entire display was under $10, and it looks fantastic. Take a look below for the materials list and full instructions as well as the finished product!
How to Make Upcycled Display Stands from Old Cups and Saucers
Materials
- Plates, saucers, cups, bowls, and vases (Check out your local thrift store.)
- Glue (I suggest Weldbond or E-6000.)
- 1 can of spray paint (I used Krylon Dual Spray Paint’s Watermelon.)
Tools
- Large piece of cardboard (to protect your work surface)
Directions
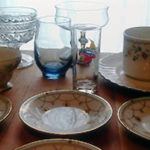
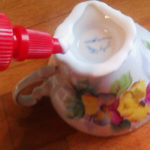
- To start, you will want to go to your local thrift store, and pick out a selection of plates, saucers, cups, and vases. Take the time to stack them on top of each other in different ways, to determine height and size of each piece. You also want to make sure the pieces fit together and won’t be top heavy. I purchased 8 saucers and 8 different cups for less than $5 at my local Value Village (secondhand store). Once you get them home, wash them well, and remove any price tags or grease pencil marks. Then allow them to dry completely.
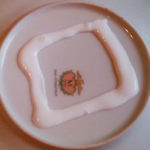
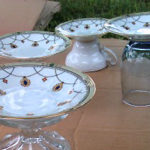
- When everything is dry, it is time to start gluing the pieces together. Again, remember to make sure none are top heavy and that the bottoms of the plates and the glassware fit together well. To glue my plates and glasses together, I used a glue called Weldbond. You can find it at most hardware stores. (To be honest, if I make more of these, I would use E-6000 because I found out the the dry time on the Weldbond is 24+ hours and so that made my project take longer!) With Weldbond, you need to put a coat of glue on both pieces of the display stand and let it sit for about 5 minutes BEFORE you press the two pieces together.
- The more glue you use, the longer it will take it to dry, but a soft bond is formed after about 5-6 hours. It will be totally dry after 24-36 hours depending on how much glue you used. Putting glue on both pieces first and letting them sit a minute creates a stronger bond.
- Now that the glue is dry, it’s time to take your stands outside and set them in a flat place with some cardboard below to protect your grass/driveway/patio from the spray paint. The fun part is about to begin!
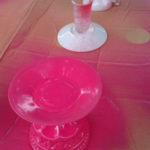
- Using short, small bursts, cover the display stands with a thin coat of paint. Don’t hold the spray nozzle down for an extended period of time or the paint will begin to run and drip. A thin coat will probably not cover any designs on the plates or cups, so plan to put 2-3 coats of paint on them. Also remember that you need to get both sides (top and bottom) of the displays, so you will have to flip them over. Be sure to let the coats dry or you will have fingerprints in the paint!
- Once your displays are dry to the touch, move them back inside (I hope I didn’t need to say this before, but don’t spray paint inside!) and let them sit for about 24 hours so that the tackiness goes away and the smell of the paint goes away. Once you have totally dry displays, you are ready to set them up and show off your product!
(I hope you have another project to work on—of course you do!—because it is going to be a whole 24-36 hours before the Weldbond dries. Set the pieces in a place where they won’t have to be moved, so the seal isn’t interrupted during the dry time. Be patient and don’t rush it. When the Weldbond is clear, then it is dry and you can move on to the next step.)
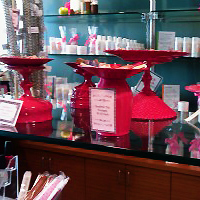
Martha Latta’s displays are set up at Hip and Handmade in the Enroute Spa at the Indianapolis International Airport. Martha is author of the e-book, The Blogging Adventure: Tips & Prompts for a Crafter by a Crafter, and offers an e-course titled “30 Day Blogging for Crafters.” To purchase Martha’s e-course, e-book, or her handmade goods visit SundayAfternoonHousewife.com.
Become a Saturday Evening Post member and enjoy unlimited access. Subscribe now
