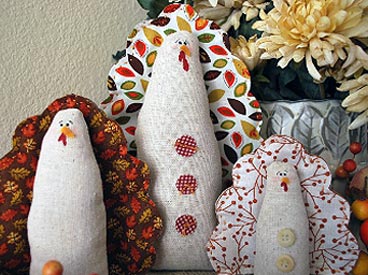
These fabric turkeys will add festive charm to your table, mantel, or bookshelves. You will need basic sewing skills to make these cuties, but don’t worry—it’s not too tough for a novice. They are made from simple patterns—only two—and it’s easy to adjust the size (bigger, smaller, fatter!). So get your sewing machine out, gather up some fall fabric, and let’s make a turkey!
How to Make the Easy-Sew Turkey
Materials
- Turkey pattern (Click here to download PDF.)
- Muslin for body, 4″ x 13″
- Fall fabric squares for tail, 2 pieces, 6″ x 6″
- Coordinating felt square for tail, 6″ x 6″
- Coordinating embroidery floss or thread for tail
- 3 tablespoons uncooked rice
- Stuffing (sponge, fabric strips, or batting will work)
- Fabric paint: black for eyes, red for wattle, yellow for beak
- Craft glue or hot glue
- Buttons or scrap fabric (optional)
- Makeup blush or rouge (optional)
Tools
- Scissors
- Sewing machine
- Embroidery needle
- Tooth pick
- Q-tip
Directions
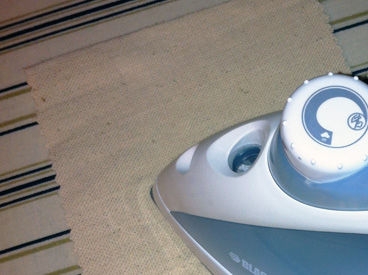
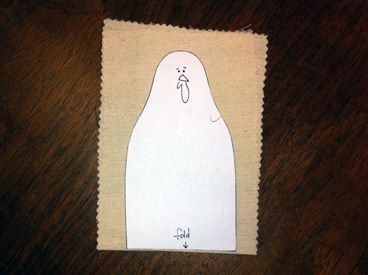
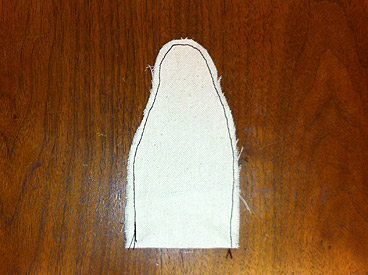
- Fold muslin in half crosswise, then press. Place turkey body pattern on top of folded muslin, trace pattern on fabric with fold along bottom of body, then cut fabric along trace lines (do not cut fabric along fold).
- Sew around edge of muslin with ⅜-inch seam allowance. (You’ll want to use a light color thread—I sewed these seams with a darker thread to make it easier to see in the tutorial.)
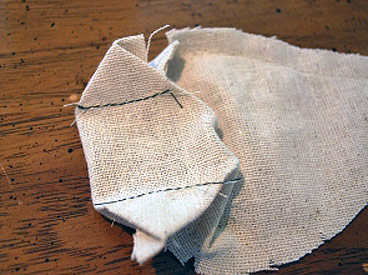
- Pull about ½-inch bottom of body up and push fold against body so fabric lies flat, making a hexagon. Sew two seams about ¼-inch from each point of hexagon as shown below.
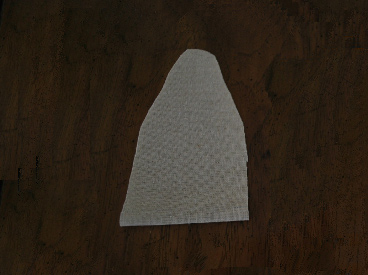
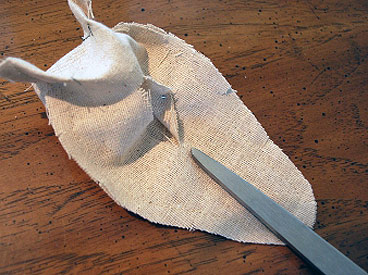
- With scissors, cut 1-inch slit in the middle of the body—be sure not to cut too close to the bottom or the rice may spill out when you are filling the turkey. Turn right side out.
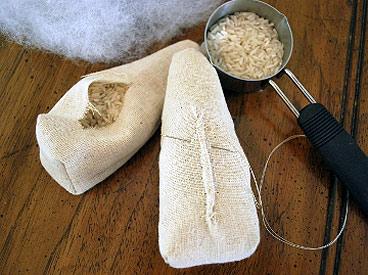
- Fill bottom half with rice and top with stuffing, then stitch closed. (No need to have a perfect seam; this is where you will attach the tail.)
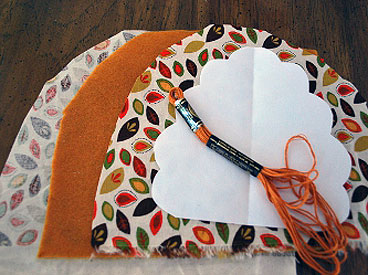
- Trace tail pattern on each felt and fall fabric square and cut. Then layer fall fabric and felt as shown below: fall fabric wrong side up, felt, and fall fabric right side up on top. Pin layers together. Use a running stitch (or another embroidery stitch you like) to join layers. I used DMC floss, but thread can also be used.
- Glue tail with craft or hot glue to back of body, covering seam from previous step. Dip toothpick in black paint to create eyes and eyebrows. If you’re nervous about your design, practice on scrap fabric or paper first. Add a dab of red paint for the wattle. I glued small triangles of yellow felt for beaks but paint will also work. Create rosy cheeks with a Q-tip and some makeup blush. Then personalize your turkey with buttons or fabric circles, which can be glued or sewn on.
Become a Saturday Evening Post member and enjoy unlimited access. Subscribe now