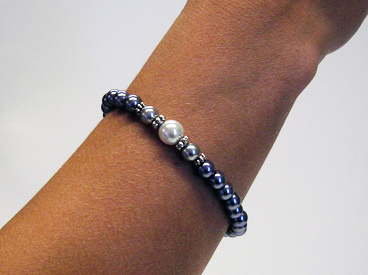
Beaded Friendship Bracelet
Handmade jewelry makes a beautiful and unique gift. And if you’re willing to do a bit of research, you can find quality materials at reasonable prices. I purchased the beads for this tutorial at a local shop that offers me great discounts because I’m a regular customer. Besides showing company loyalty, buying your supplies in bulk may also offer great savings on beads.
I’ll be using my bargain beads in the tutorial below, but feel free to use different colors and shapes to give your friendship bracelet a personal touch.
Beaded Friendship Bracelet
Materials
- Beading wire
- Beads
- 2 crimp beads
- 1 magnetic clasp
Tools
- Wire cutters
- Bead board or towel
- Crimping pliers
Directions
- Decide how long you want your bracelet to be and add 6″. Cut your wire, making a knot close to the end of the wire on one side to act as the bead stopper.
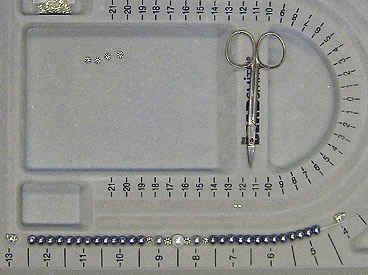
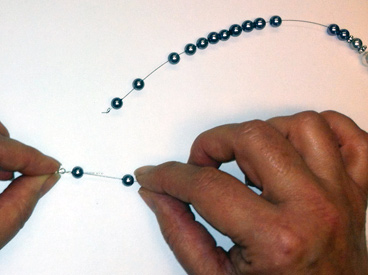
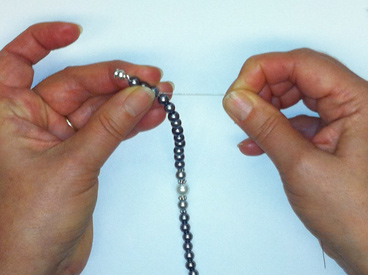
- Using your bead board or towel, lay out beads in the pattern you want for your bracelet. String all your beads onto the beading wire.
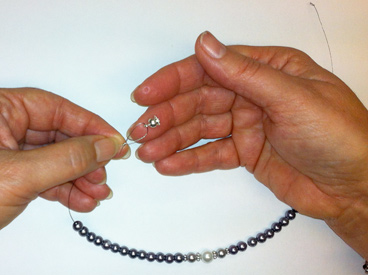
- To attach the clasp, string on a crimp bead and half of the clasp. Turn your wire to push it back through the crimp bead. Check the fit of your bracelet and add/remove beads as needed.
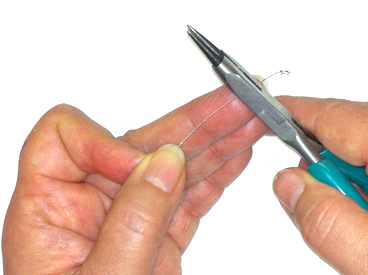
- Using your fingers, grip and bend the beading wire at the clasp and push the crimp bead up against the clasp, but not too tightly. You want the clasp to move freely once it is secure. Continue to push the wire through the next 2 or 3 beads, trim wire to leave no tail, and push all beads snug against the crimp bead.
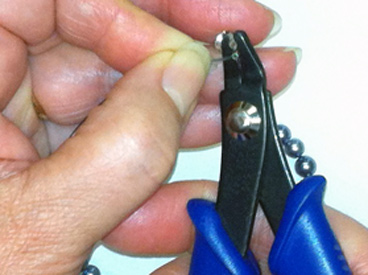
- Using the “tooth” of the crimp pliers, press the crimp bead to flatten the crimp and crease the center. Move the bead to the next hole in pliers and gently press to fold and round the flattened crimp. Your wire is now secured.
- At knotted end of wire, use wire cutters to clip off the knot. Repeat the crimp and clasp process.
- Do not bend the beading wire at the clasp until you have pulled the wire through the next two or three beads and pulled the wire snug with the remaining bracelet beads, eliminating any excess wire in the length of the bracelet. This time you will have a tail outside the second or third bead from pulling the wire tight. When you have secured the clasp, use wire cutters or fine point scissors, if you wish, to remove wire tail.
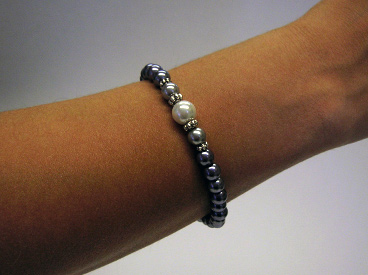
Congratulations on your new creation!
