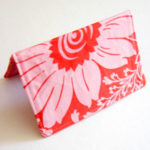
Personalized Business Card Holder
How to Make a Personalized Business Card Holder
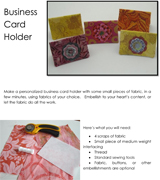
Materials
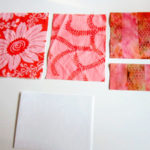
- 3 scraps of different patterned fabric (See Step 1 for measurements.)
- 4 ¼” x 5 ¾” piece of medium-weight interfacing
- Extra fabric, buttons, or other embellishments (if desired)
- Thread
Tools
- Iron
- Scissors
- Stick pins
- Tailor’s chalk
- Sewing machine
Directions
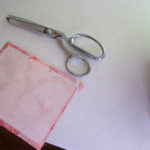
- From Fabric A and Fabric B, cut 1 piece each 4 ¾” x 6″.
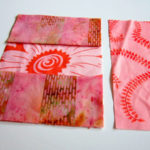
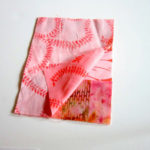
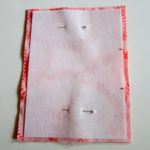
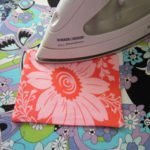
From Fabric C, cut 2 pieces 4 ¾” x 4 ¼”. - Lay Fabric A right side up. Fold Fabric C pieces long edges and wrong sides together and press. Then lay folded Fabric C on top of Fabric A (raw edges along top and bottom short edges of Fabric A). Lay Fabric B, wrong side up, on top of Fabric C. Lay interfacing on top of Fabric B. Then pin layers. Use chalk or pins to mark top edge of pockets on interfacing as a guide (the marks indicate where to start and stop stitching).
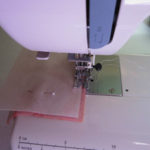
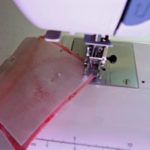
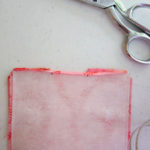
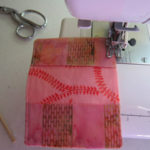
- Using a ¼-inch seam, begin stitching at chalk mark. Stitch along the edge. Finish at second mark. Leave opening for turning. Backstitch at beginning and end of stitching. Also, sew a stitch or two diagonally across corners to prevent “dog ears” on your finished product.
- Trim corners.
- Finger press seam allowance down on both sides of opening. This will make turning the seam allowance to the inside easier.
- Turn right side out.
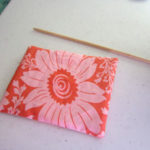
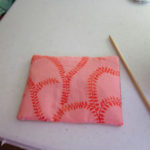
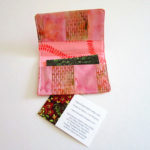
- At this point, you have the option of using either side as the outside of your business card holder.
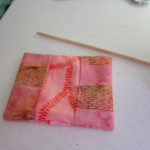
Decide which side you want on the outside, then turn pockets to the inside. - Carefully poke out corners. Turn edges of opening inside. Press on both sides of the holder.
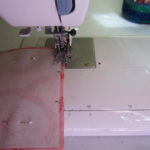
- Starting at opening, stitch along the edge.
- If you like, you can embellish the cover with buttons or fabric flowers.
Enjoy your new business card holder!
This is an original pattern and is for personal use only. Do not sell or redistribute this pattern in any form. Selling the completed items made from this pattern is not permitted without written permission from Kym Delmar. You may contact Kym at [email protected] with questions.

